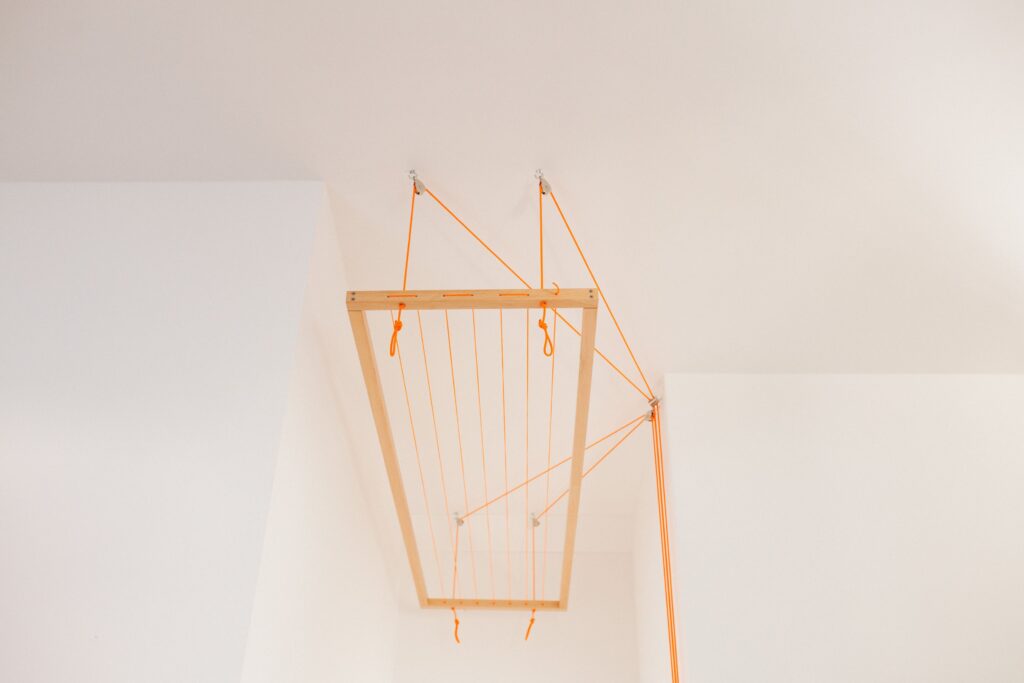


Good planning ensures that the Hangbird is practical to use and that its assembly is easy.
First consider the frame position in the room:
Then imagine where the ropes will be positioned:
For special room situations or if you have any questions, you are welcome to send us some pictures of the possible location (ideally from several angles) with the appropriate dimensions to: info@hangbird.net.
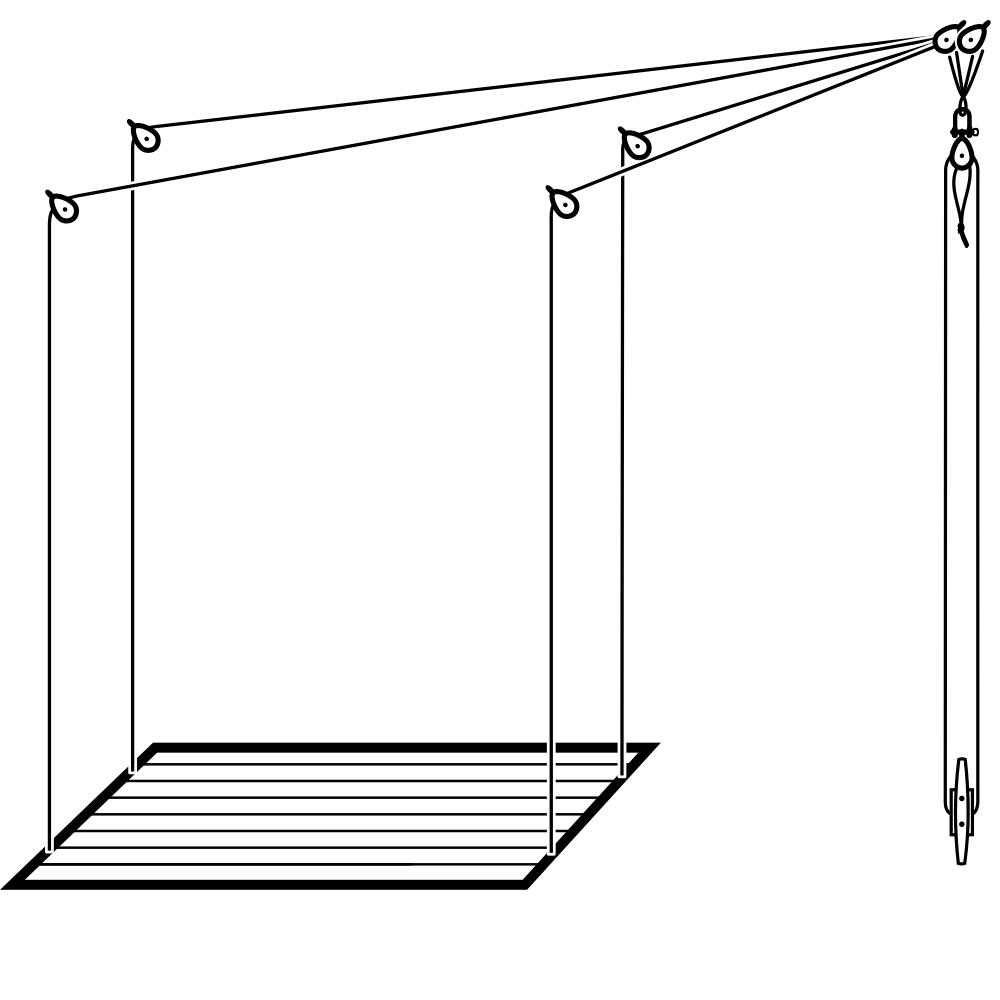
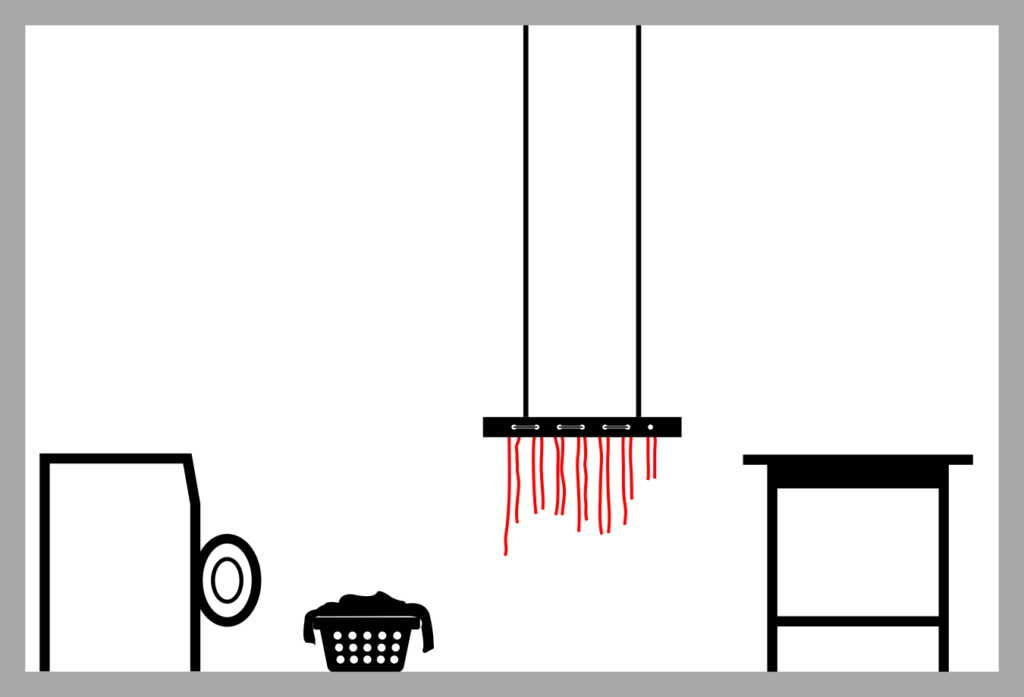
For planning, visualize the entire process of hanging up the laundry at the planned location:
Basically, the frame and the pulley system can be placed independently of each other. This increases flexibility when choosing the location.
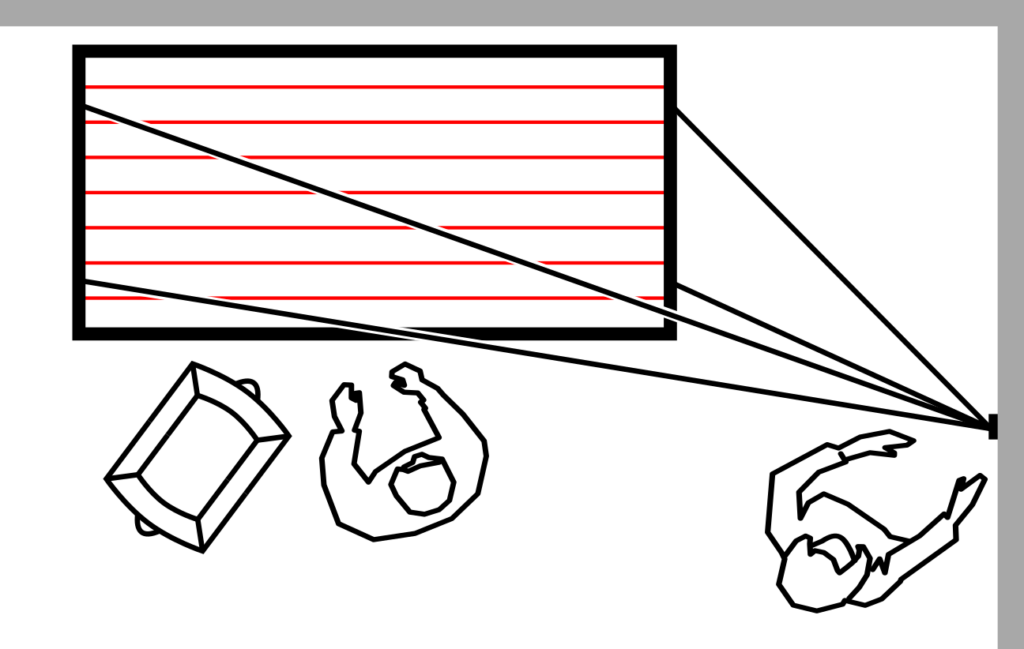
At first glance, the following symmetrical cable routing may look nicer – but you are in the way when the frame drops.
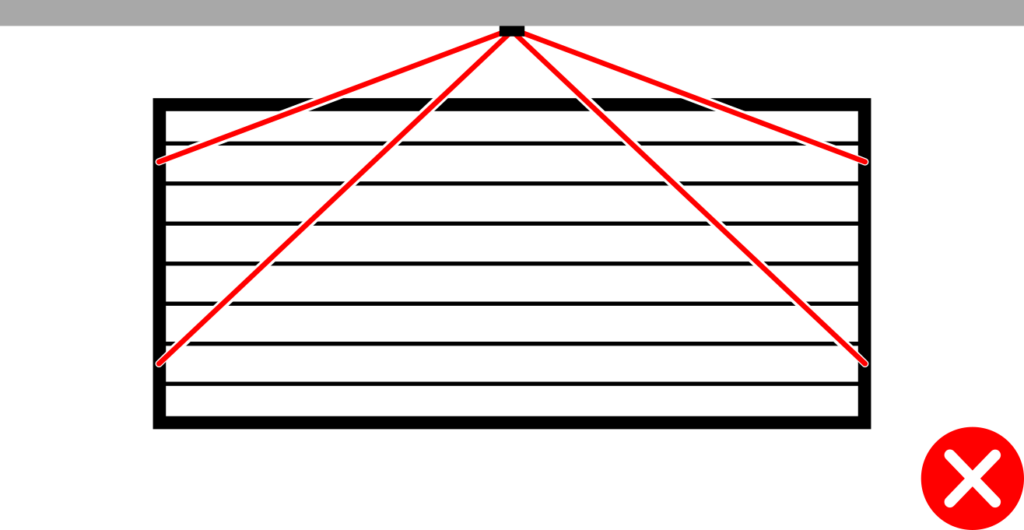
Better: When the frame is lowered, both the pulley and the frame should be easily.
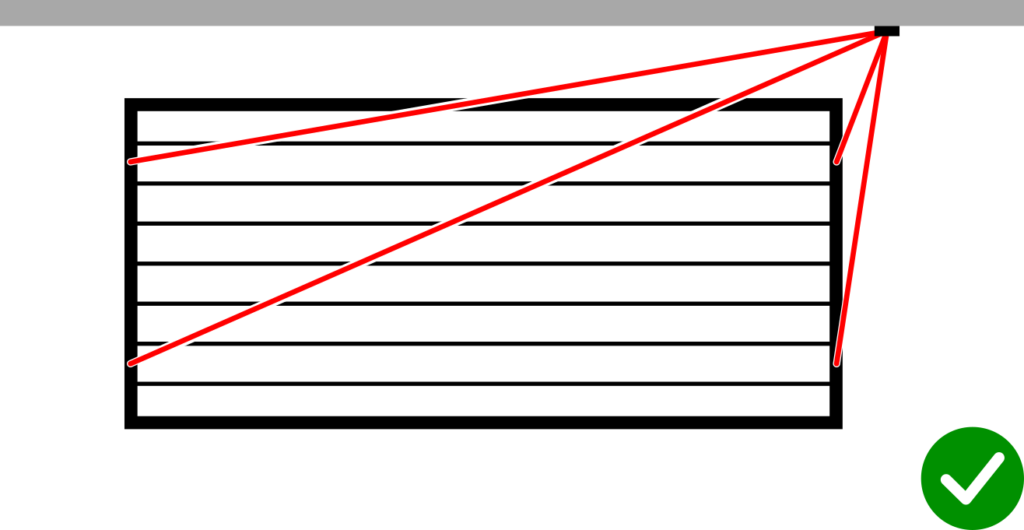
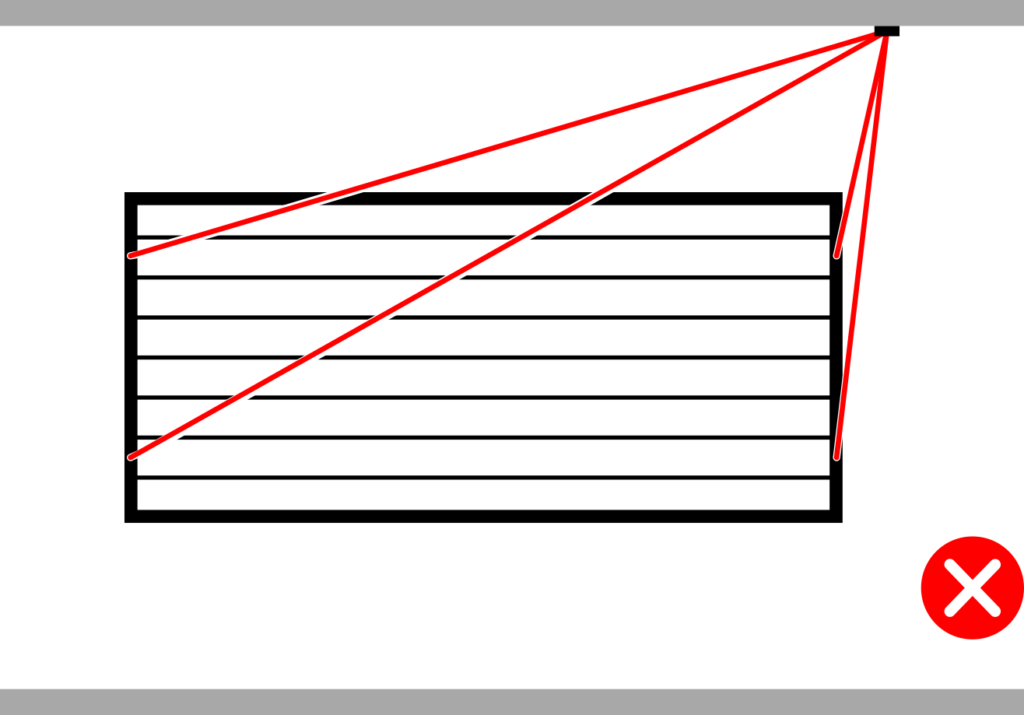
Even in tight situations, e.g. a hall, the Hangbird can fit in well. However, there should still be enough space to hang up the laundry.
Due to the central position in the corridor, there is not enough space to hang the laundry from the long side between the wall and the frame.
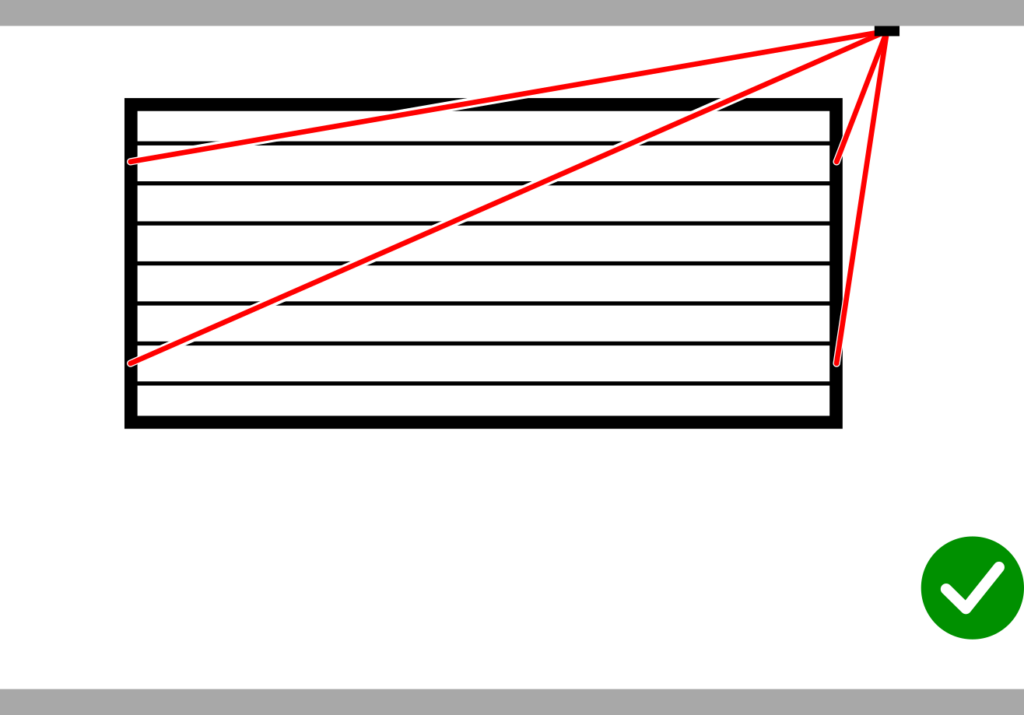
Better: You can comfortably step sideways with enough space on the long side of the frame and from there hang the laundry on the frame.
In every position (above, below and in between) the frame should keep a distance of 10-20 cm on all sides to obstacles such as doorknobs, shelves and walls.
The frame needs space on the ceiling and sufficient clearance to:
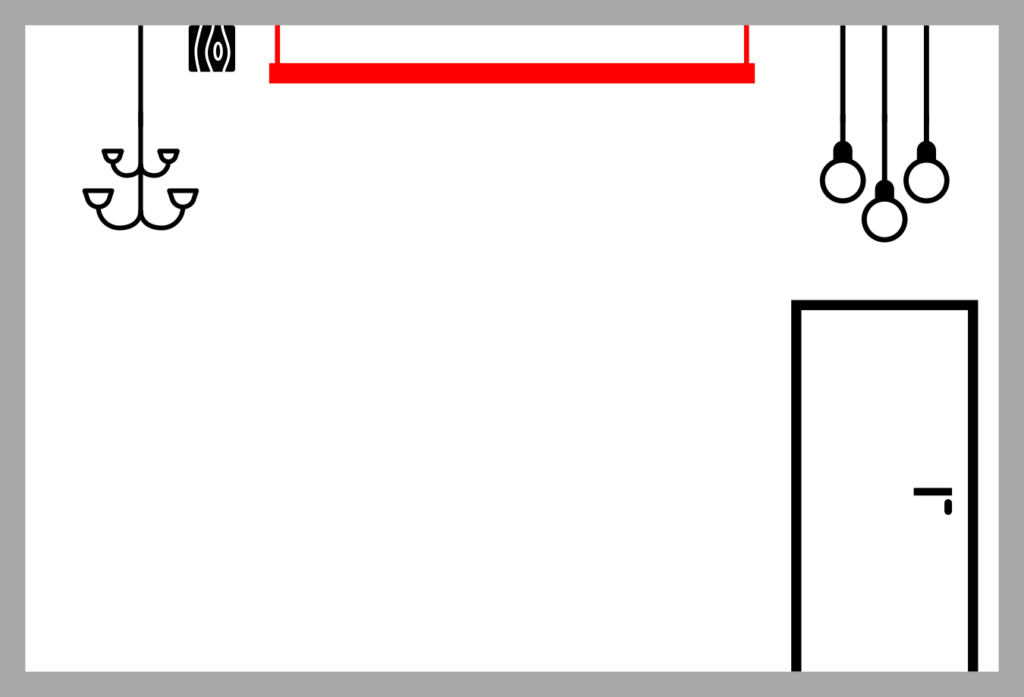
Space is needed in the lower position:
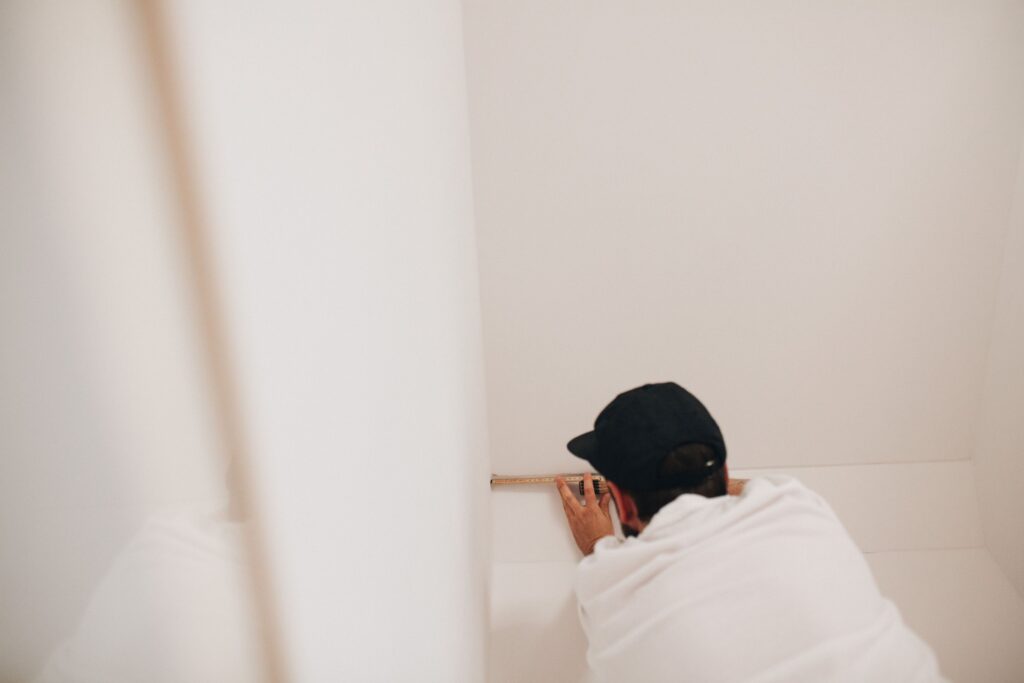
The frame hangs on four suspension cables that run parallel to the ceiling. The rollers are attached to the ceiling according to the attachment points on the frame.
| Name of model | External dimensions of frame | Distance between pulleys | |
|---|---|---|---|
| B | b | ||
| Width | "60" | 58 cm | 32 cm |
| "70" | 71 cm | 45 cm | |
| "80" | 84 cm | 58 cm | |
| L | l | ||
| Length | "100" | 107 cm | 103 cm |
| "150" | 157 cm | 153 cm | |
| "200" | 202 cm | 198 cm |
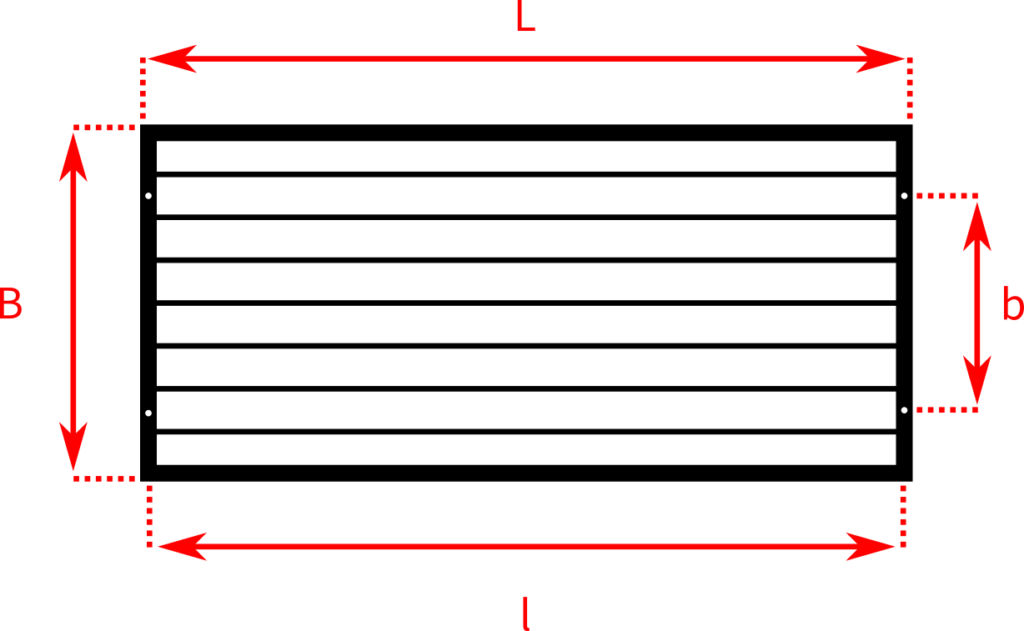
The ropes compensate for differences of a few centimeters well and generously.
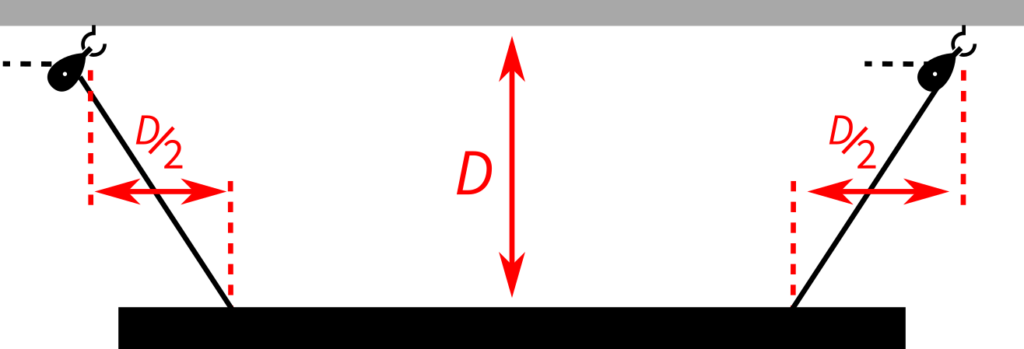
However, sometimes there is a substantial difference “D” (> 10 cm) between the distance on the frame and the distance of the hooks due to space constraints. The ropes adjust to this difference, and thus the frame will put itself in the middle so that the difference is shared on either side (D/2 in the figure).
Then the upper frame position should be chosen so that the distance to the ceiling is just as large as this difference. This ensures that the ropes do not run too diagonally to each other and then pull against each other.
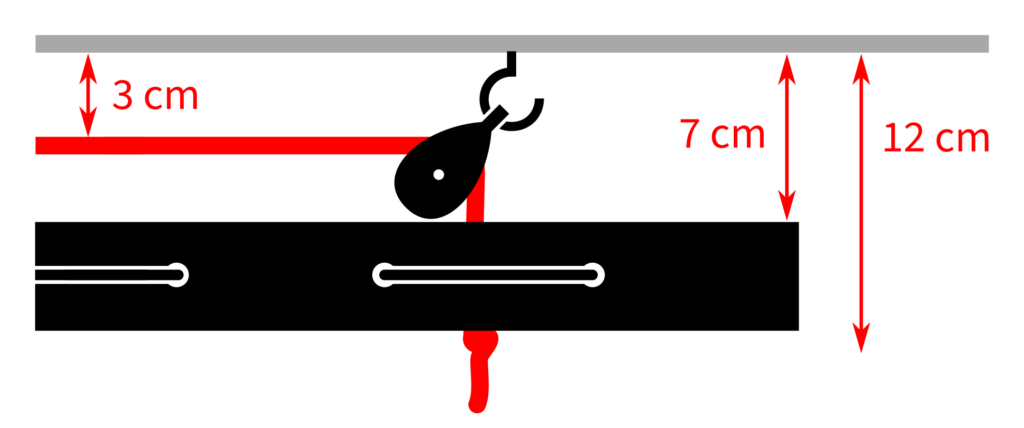
In the upper position, the frame can be pulled up to 7 cm close to the ceiling. After attaching the pulley, the lower edge of the frame is then approx. 12 cm below the ceiling. The frame is 3.3 cm thick.
Of course, more space can be left to the ceiling. This can be selected individually during assembly.
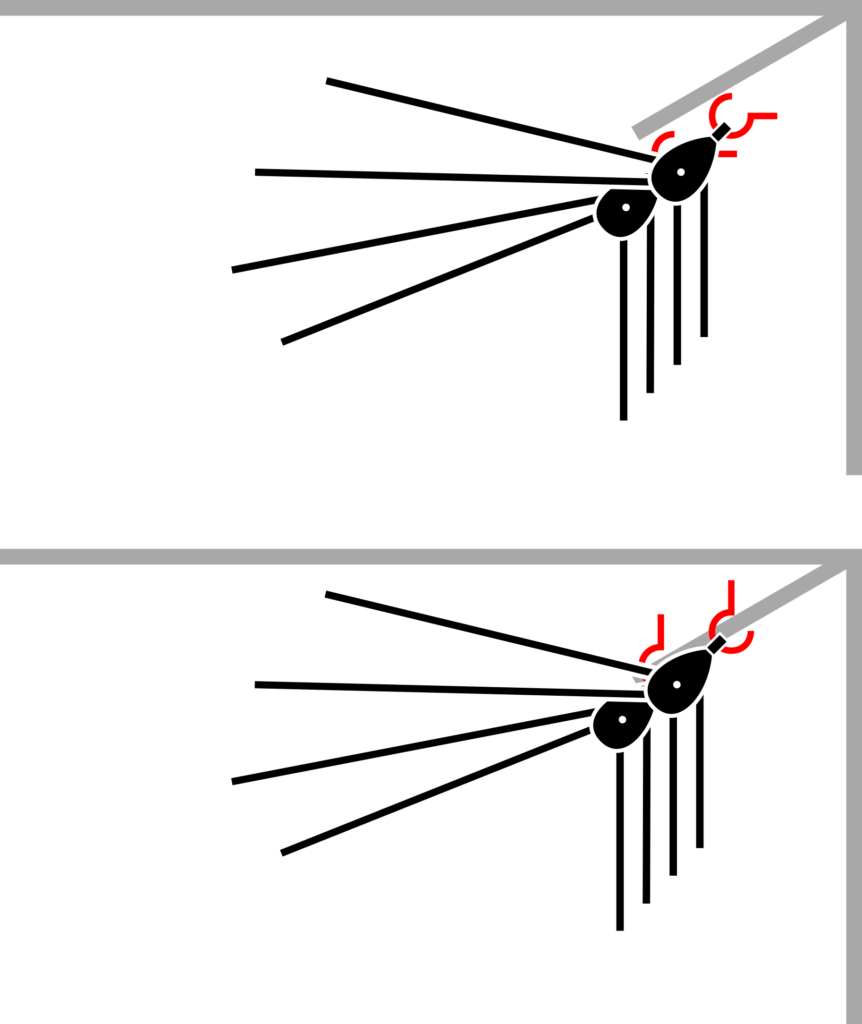
The four suspension ropes are deflected on the ceiling and converge in a star shape on the wall. The rope routes should be free of obstacles such as beams or protrusions.
The two double pulleys, which redirect the suspension ropes downwards to the pulley system, can be attached to the wall or to the ceiling.
We also add a generous amount of rope. If your ceilings are higher than 4 metres, please let us know on the checkout pages (or by email) so that we can add more rope.
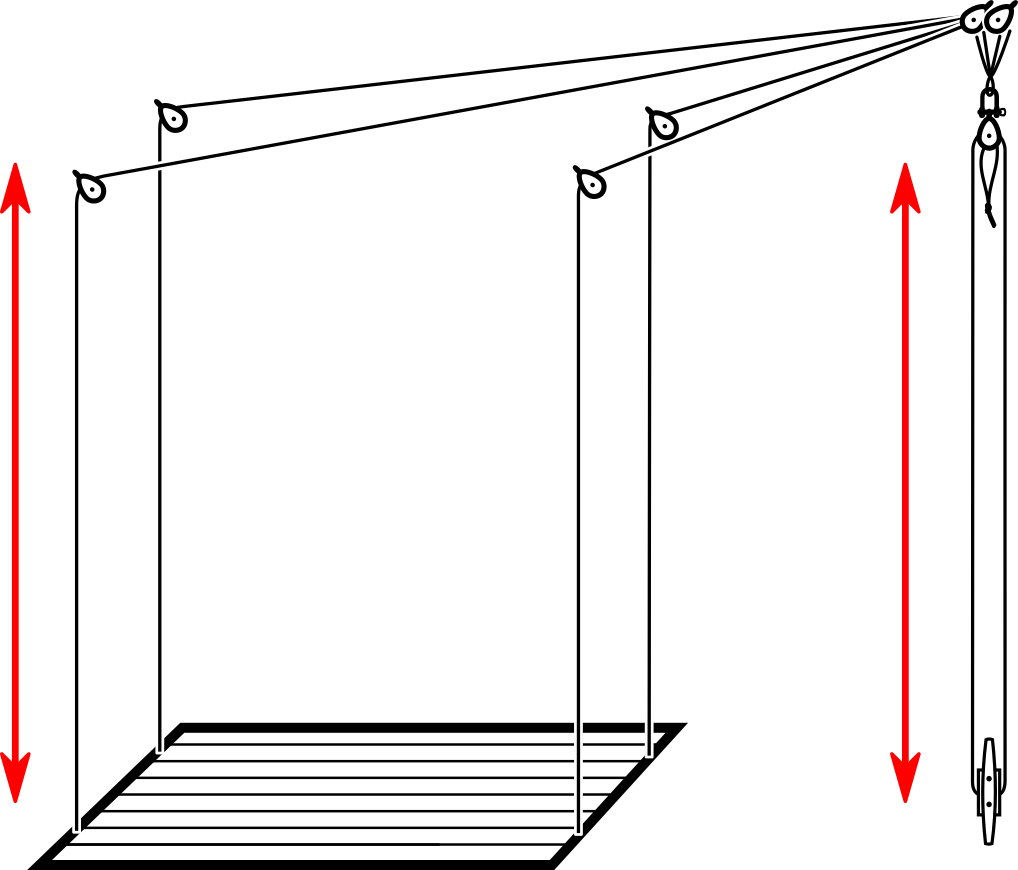
The frame is operated by the pulley system. You need a narrow strip on the wall that is free of obstacles and easily accessible.
The lower fastening point of the pulley (with a cleat on the wooden base plate) results from the travel path of the frame between the upper and lower position.
When installing or selecting the drilling points, attention should also be paid to the route of the lines.
Many hundreds of Hangbirds have successfully taken off so far, and hopefully many more will follow if you follow the checklist below:
If you have a special situation or if you have any questions, please feel free to send us pictures of the planned location (ideally from several angles) with the appropriate dimensions to info@hangbird.net.
